

Product images and videos are provided by our supplier partners and may not always be perfectly accurate. Not sure this fits? or call (760) 282-4645 and we’ll verify before you order.
Exterior Components› Body Panels and Components
BFGoodrich
235/50ZR17 100Y XL PIL SPTAS
SKU: B02A 08699
Beginner — under 30 min
Overview
Show original supplier description
Product descriptions are provided by our supplier partners and may not always be perfectly accurate. Not sure this fits? or call (760) 282-4645 and we’ll verify before you order.
Fitment
Fitment Guaranteed
Don’t gamble
on fit.
Log your build in the MOTORMIA app and we’ll guarantee this part fits your exact setup — or your money back, return shipping covered.
Available on iOS & Android
Specifications
| Brand | BFGoodrich |
| Part Number | B02A 08699 |
Videos
Testing the BFGoodrich g-Force COMP-2 A/S PLUS 2023 | Tire Rack
BFGoodrich g-Force Comp 2 A/S Tire Review | DSPORT
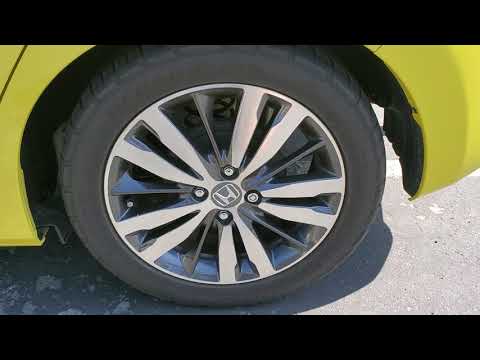
BF Goodrich G-Force Comp 2 A/S Tire: Quick 40,000 Mile Condition Review On Honda FIT
BF Goodrich Comp Series 2 A/S
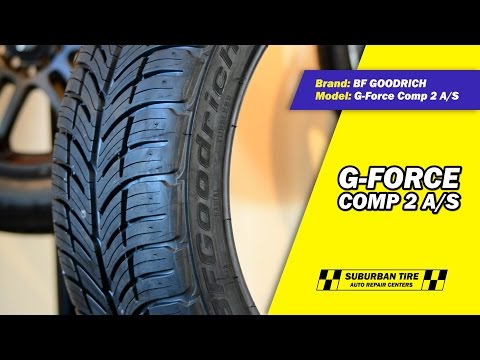
BF Goodrich G-Force COMP-2 A/S
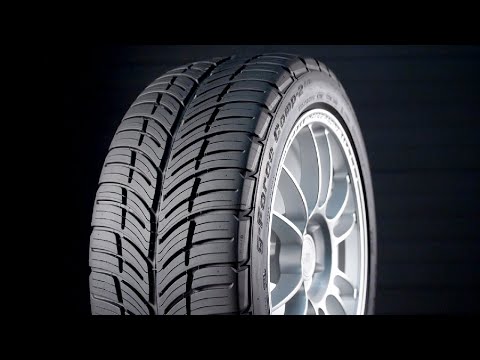
Testing the BFGoodrich g-Force COMP-2 A/S PLUS 2020 | Tire Rack
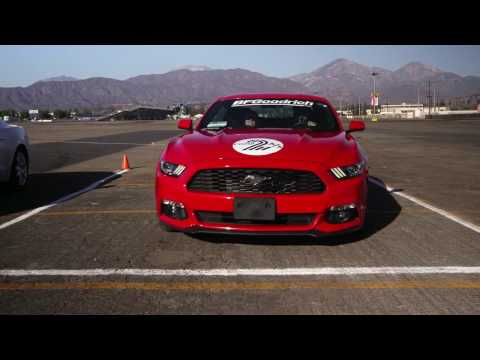
Ricky Johnson Tests the New BFGoodrich Comp 2 A/S

BFGoodrich g-Force Sport COMP-2 Tire Review

BFGoodrich Tires Comp 2 A/S
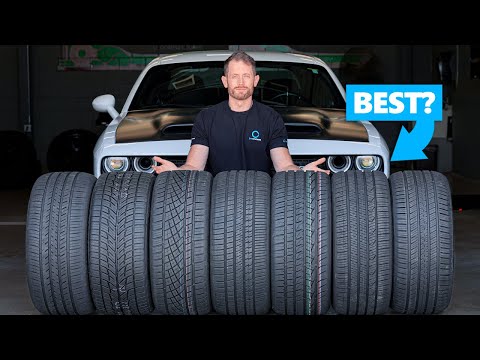
Best UHP All Season Tire? Continental vs Pirelli vs Falken vs BFGoodrich vs General vs Vredestein
Michelin Pilot Sport A/S 4 Tire Review
Testing the Michelin Pilot Sport All Season 4 2021 | Tire Rack
Michelin Pilot Sport 4S vs Continental ExtremeContact Sport 02 - In Depth Review!

Michelin Pilot Sport 5 vs Pilot Sport 4S vs Primacy 4+! The Differences Tested and Explained!

Michelin PS4 vs Primacy
MICHELIN CrossClimate2, All Season Car Tires (Genuine Review)
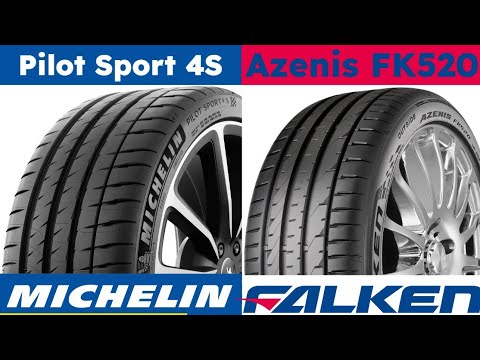
Michelin Pilot Sport 4 S vs Falken Azenis FK520

The BEST UHP Tire for 2025! Michelin, Pirelli, Continental, Goodyear and Bridgestone Tested
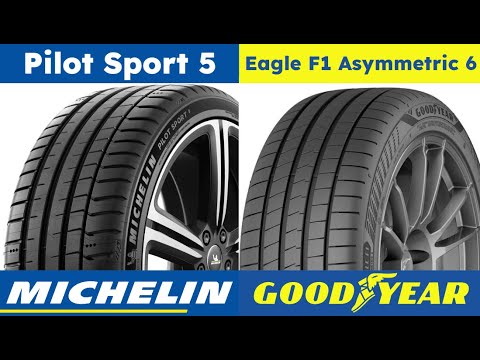
Michelin Pilot Sport 5 vs Goodyear Eagle F1 Asymmetric 6
About MOTORMIA
Buy with Confidence
Returns & Fitment
Built for enthusiasts. Every order is backed by our 30 day return window on eligible items. Unused and uninstalled products may be returned with approved RMA and no restocking fees when received in new condition. Orders placed through the MOTORMIA app with a complete build qualify for our Fitment Guarantee — free return shipping if the part doesn’t fit your exact setup. The guarantee covers fit only; installation must follow manufacturer instructions, and we recommend a qualified shop for parts marked Difficulty 4–5.
View Full Return PolicyShipping
Orders are processed in 1–3 business days. In stock parts ship promptly from our partner network. Special-order items either aren’t currently stocked or are built to your spec — expect 4–6 weeks. If a part goes on backorder while your order is in the queue, we’ll reach out and work through discounted alternatives together.
Free shipping over $200 in the continental US. Alaska, Hawaii, U.S. territories (Puerto Rico, U.S. Virgin Islands, Guam, American Samoa, and the Northern Mariana Islands), and international orders carry surcharges — most appear at checkout. Some exceptions (LTL freight, or suppliers who quote freight only after we place the order) won’t. In those cases we’ll reach out with the exact charge before your order moves forward.
View Full Shipping Policy