
Air and Fuel› Performance Packages
COBB
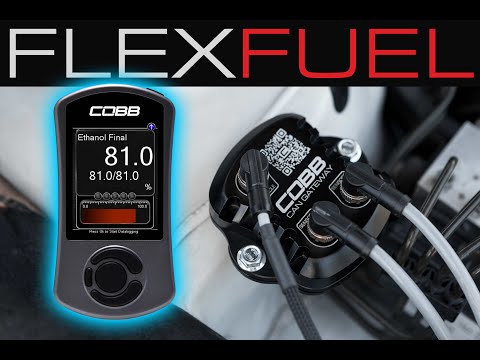
Cobb 15-17 Subaru WRX Stage 1+ to NexGen Stage 2 + CAN Flex Fuel Power Package - Silver
SKU: C005 SUB004NG2W-SL1FF-S1P-UP
Moderate — 2–4 hours
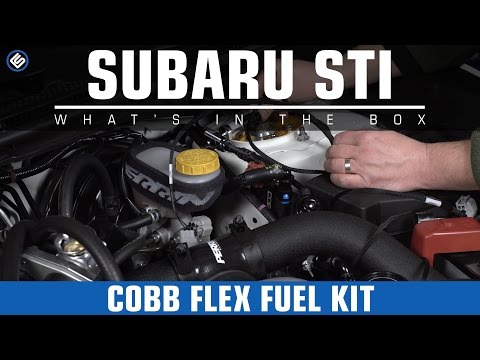
Description
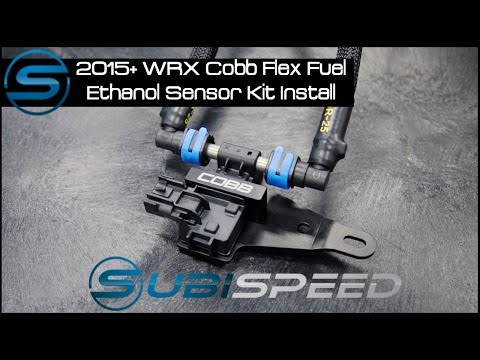
Fitment
Fitment Guaranteed
Don’t gamble
on fit.
Log your build in the MOTORMIA app and we’ll guarantee this part fits your exact setup — or your money back, return shipping covered.
Available on iOS & Android
Specifications
| Brand | COBB |
| Part Number | C005 SUB004NG2W-SL1FF-S1P-UP |
Videos

Buy with Confidence
Built for enthusiasts. Every order is backed by our 30 day return window on eligible items. Unused and uninstalled products may be returned with approved RMA and no restocking fees when received in new condition. Orders placed through the MOTORMIA app with a complete build qualify for our Fitment Guarantee — free return shipping if the part doesn’t fit your exact setup. The guarantee covers fit only; installation must follow manufacturer instructions, and we recommend a qualified shop for parts marked Difficulty 4–5.
View Full Return Policy